

🌌 Nyx 渲染器#
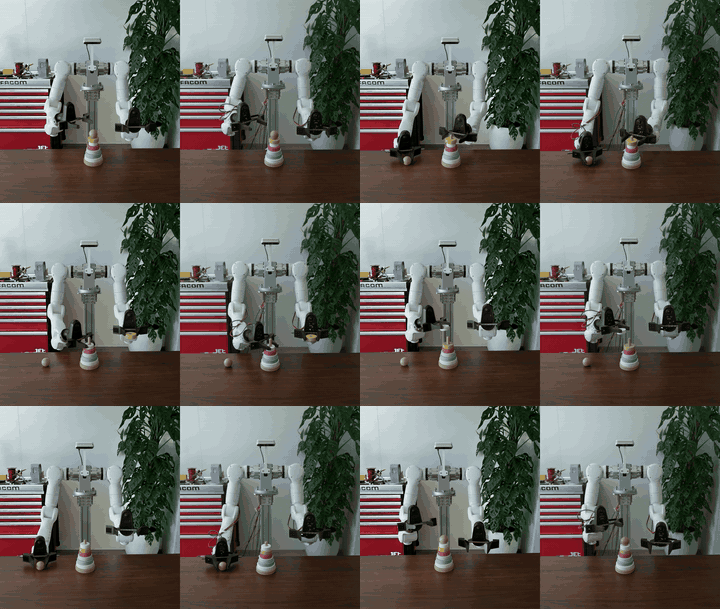
Nyx 是 Genesis 自研的 GPU 加速路径追踪器。它以相机传感器的形式接入场景,可生成适合机器人数据集、演示和合成感知任务的照片级真实帧。
主要特性:
基于物理的路径追踪,并原样转发 GLTF/GLB 资产中的 PBR 材质。
HDRI 环境贴图和解析光源。
可把 3D Gaussian splat(“光场”)资产与仿真几何体一起渲染。
支持连接相机、多相机设置和多环境渲染。
支持逐像素对象拾取。
通过标准 Genesis 传感器接口暴露(
scene.add_sensor(...))。
安装和最小 “hello Nyx” 示例见可视化指南中的 使用 Nyx 进行照片级真实渲染。完整功能参考、选项和高级配方见 Nyx 文档:https://genesis-embodied-ai.github.io/genesis-nyx/。
示例:渲染 Gaussian splat#
除了标准网格,Nyx 还可以在同一个路径追踪帧中渲染捕获到的 3D Gaussian splats。splat 会作为 LightFieldAsset 声明在 Nyx 相机上;每个 Nyx 传感器的 light_fields 会在 scene.build() 时收集,并在每一步中渲染。
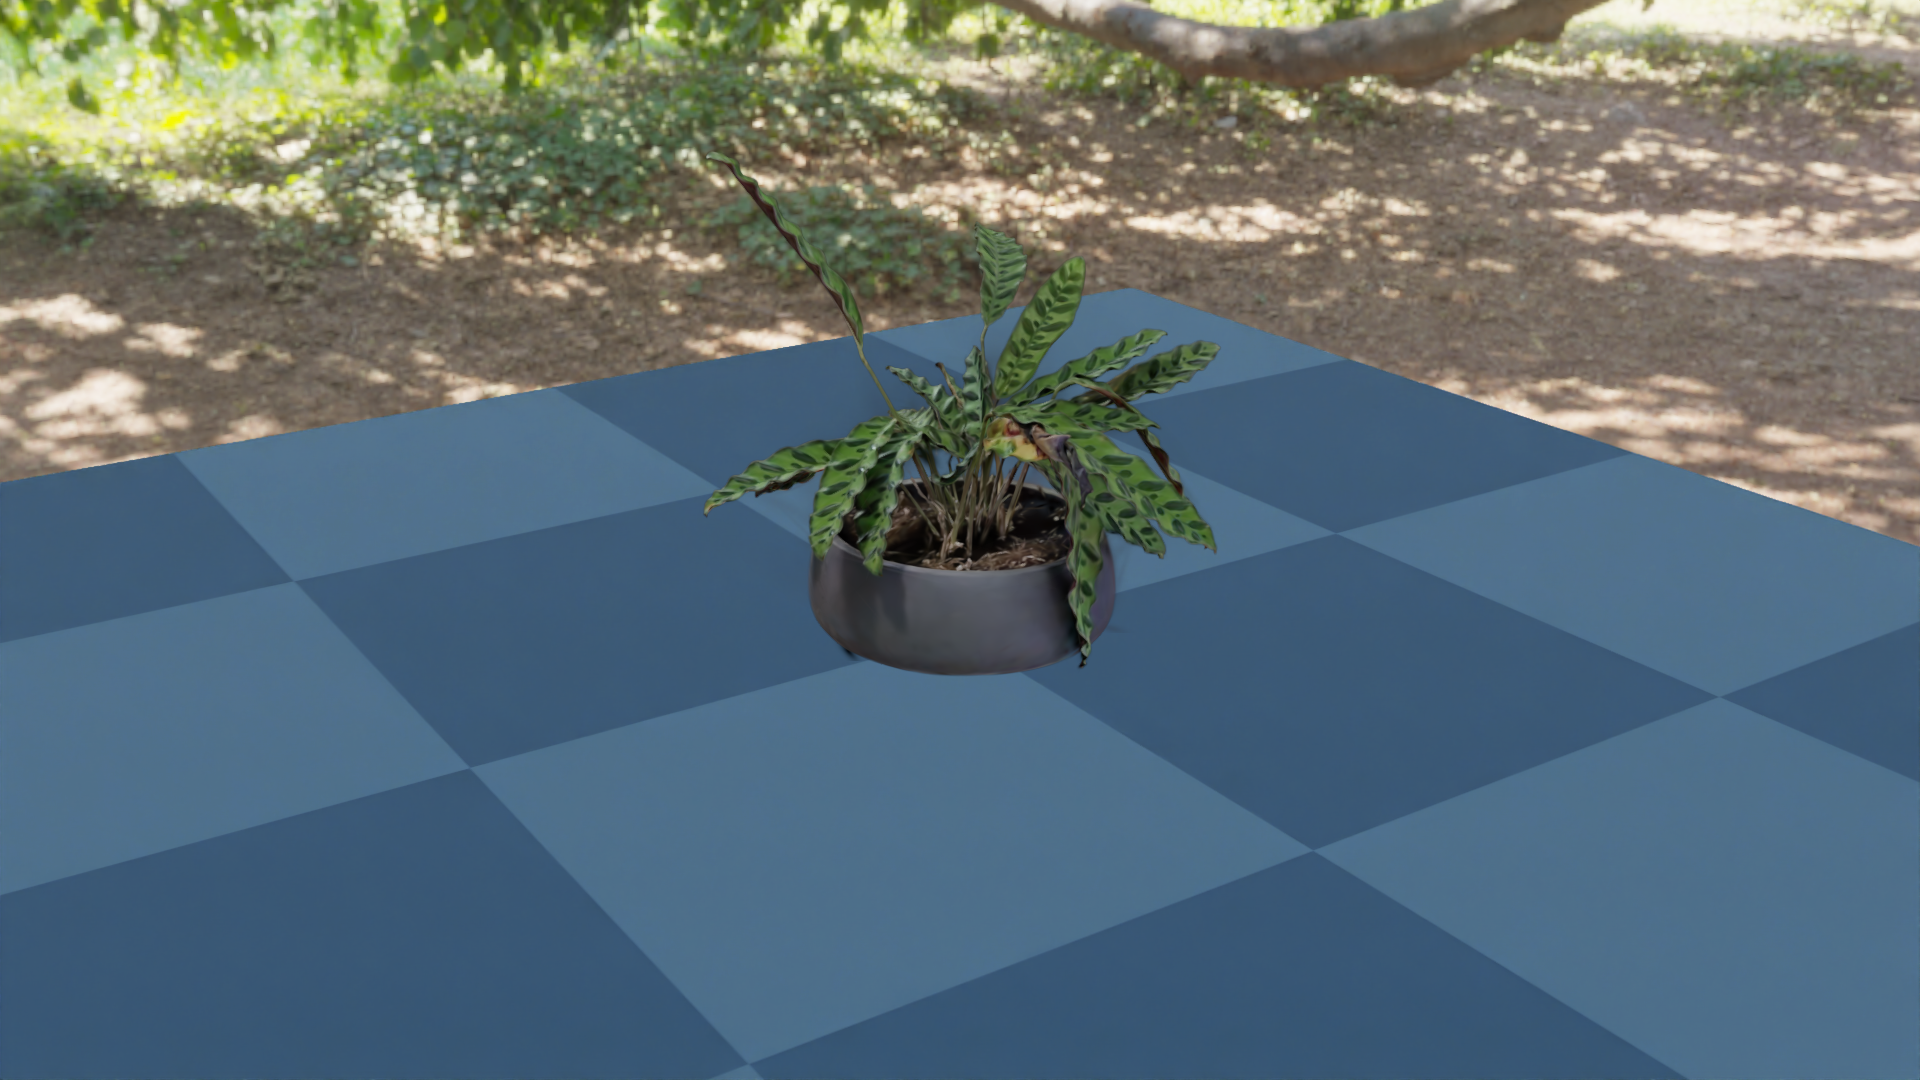
下面的片段来自 Nyx 仓库的 examples/05_gaussian_splat.py。它会在 green_sanctuary HDRI 下,把捕获的 plant.ply splat 渲染到一个 Plane 上。
import os
from PIL import Image

import genesis as gs
import gs_nyx.nyx_py_renderer as npr
import gs_nyx.nyx_py_sdk as nps
from gs_nyx_plugin.nyx_camera_options import NyxCameraOptions


HERE        = os.path.dirname(__file__)
PLANT_PLY   = os.path.join(HERE, "assets", "plant.ply")
ENV_MAP     = os.path.join(HERE, "assets", "green_sanctuary_4k.hdr")
OUTPUT_PATH = os.path.join(HERE, "out", "05_gaussian_splat.png")


def main():
    gs.init()
    os.makedirs(os.path.dirname(OUTPUT_PATH), exist_ok=True)

    scene = gs.Scene(
        sim_options=gs.options.SimOptions(dt=0.01),
        show_viewer=False,
    )

    scene.add_entity(morph=gs.morphs.Plane(plane_size=(2.0, 2.0)))

    # splat 声明在相机侧的 LightFieldAsset 上,而不是 Genesis entity。
    # 每个 Nyx 传感器的 light_fields 会在 scene.build() 时收集,
    # 并和仿真几何体一起渲染。
    plant          = nps.LightFieldAsset()
    plant.type     = nps.ELightFieldType.GaussianField
    plant.uri      = PLANT_PLY
    # 绕 Z 轴旋转 90°,使采集资产在 Genesis 的 Z-up 世界中竖立。
    plant.rotation = nps.quaternion(0.0, 0.0, -0.70710678, 0.70710678)

    # HDRI 环境贴图照亮仿真平面。splat 已经烘焙了视角相关颜色,
    # 因此外部光照只需要作用于几何体。
    env_map            = nps.EnvironmentMapAsset()
    env_map.texture    = ENV_MAP
    env_map.layout     = nps.EEnvMapLayout.LongLat
    env_map.multiplier = 2.0

    cam = scene.add_sensor(NyxCameraOptions(
        res          = (1920, 1080),
        pos          = (1.0, 1.5, 0.8),
        lookat       = (0.0, 0.0, 0.1),
        fov          = 30.0,
        spp          = 64,
        render_mode  = npr.ERenderMode.FastPathTracer,
        env_maps     = [env_map],
        light_fields = [plant],
    ))

    scene.build(n_envs=1)
    scene.step()  # 渲染在仿真 step 中触发

    rgb = cam.read().rgb[0].cpu().numpy()
    Image.fromarray(rgb).save(OUTPUT_PATH)
    print(f"Saved {OUTPUT_PATH}")


if __name__ == "__main__":
    main()
需要注意:
Splats 位于相机侧,而不是实体侧。
LightFieldAsset连接到NyxCameraOptions.light_fields,并在每帧与仿真几何体一起渲染。Splats 是预光照的。 它们的视角相关颜色已经烘焙,因此 HDRI 环境贴图只需要照亮仿真
Plane。scene.step()会触发渲染。 使用cam.read().rgb取帧;它是一个 torch 张量,每个环境对应一张图像。
下一步#
更多示例位于 Nyx examples folder,涵盖连接相机、材质、光源类型、对象拾取,以及多相机/多环境渲染。完整选项参考和高级功能请访问 Nyx 文档站点。